Showing posts with label everything is new again. Show all posts

Tuesday, January 17, 2012

What to do with a thrifted frame, #2 - Antique Gold

I'm digging anything with either the "gilded" or "antique gold" look or stuff that's old and busted. So here's my take on how to made a thrifted frame do both.

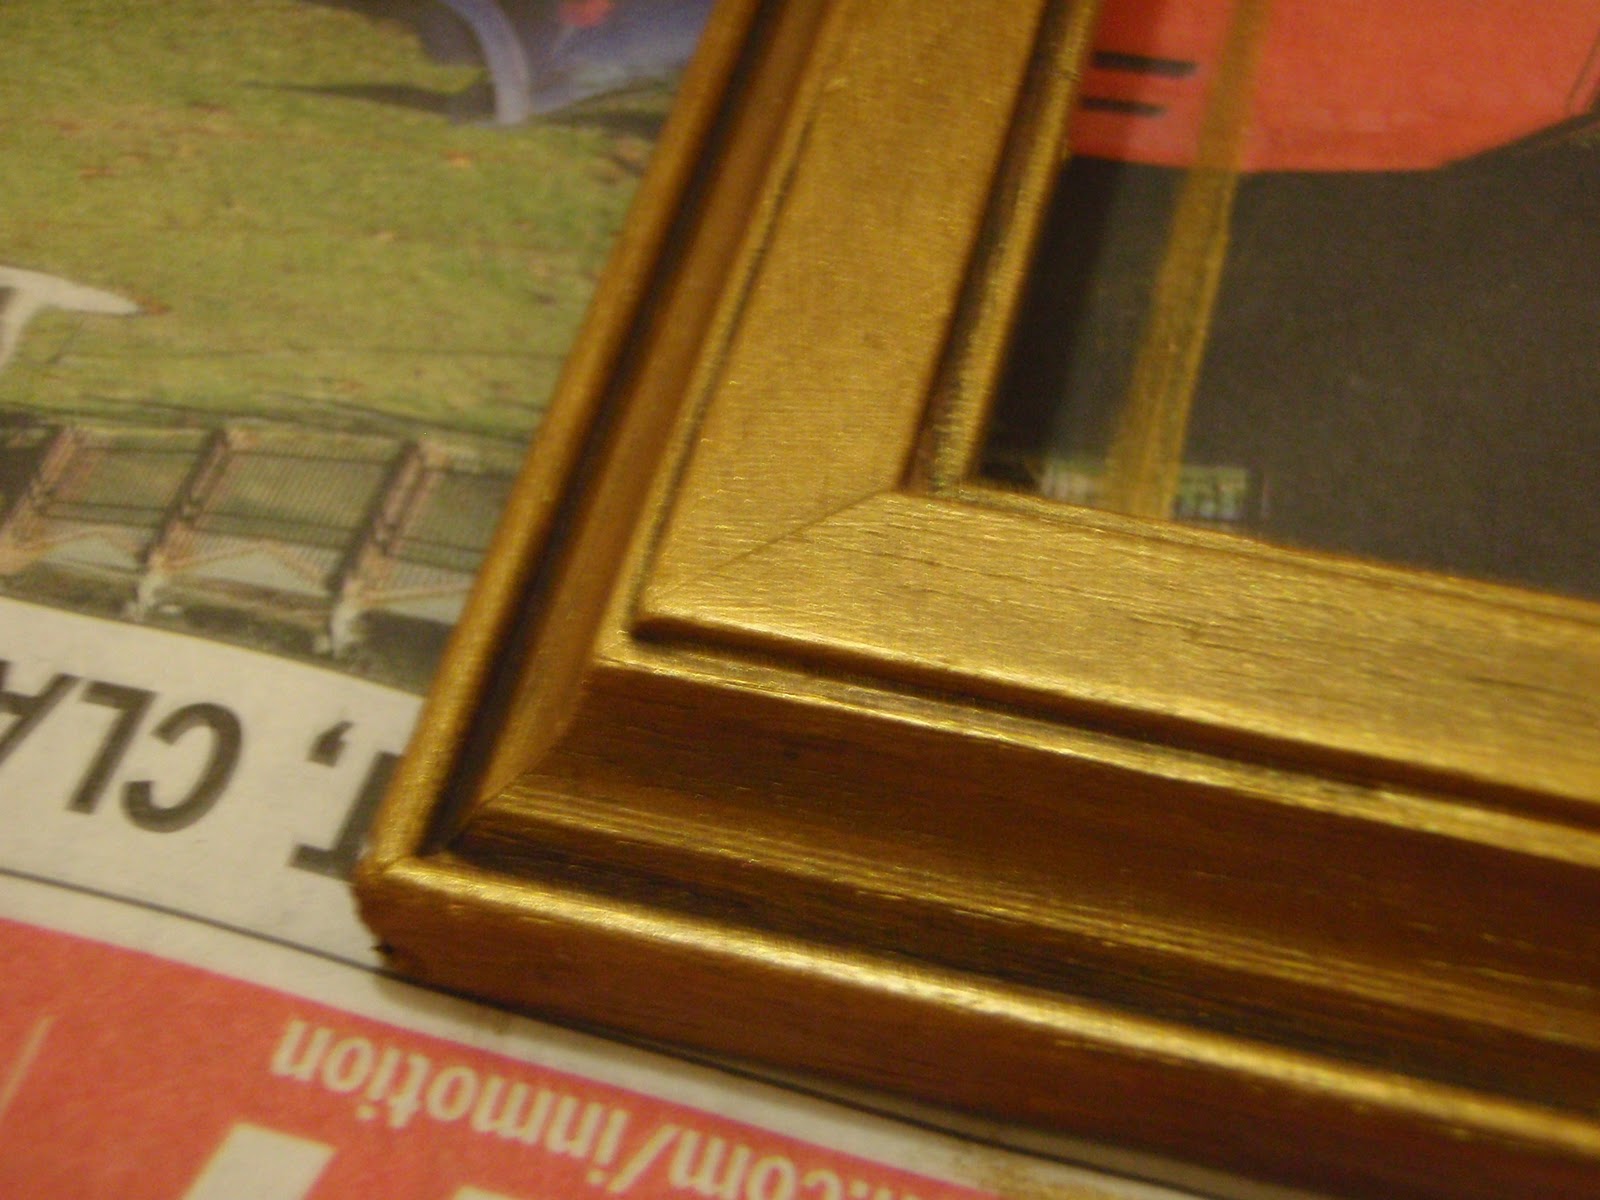
Antique Gold Frame

Supplies: 

Work already in progress...sorry
  • Wooden or plastic frame...plain or ornate
  • Fine grit sandpaper (I used 320)
  • Acrylic paint in dark brown and "vintage" gold
  • Foam brush
  • Paper towels
  • Gloves
  • Newspaper (several layers)
  • Plastic cup with water (for dunking brushes between coats)

Steps:

  1. Prep work - Remove the glass an guts of the frame, and clean thoroughly. If your frame is wooden, you'll probably need to sand it to remove any varnish or coating on the frame (I sanded mine with 320 grit paper, and I don't think I got all the varnish off, but I don't think it really mattered in the end). Wipe any sanding dust off with a rag and completely dry the frame.

  2. Base coat - Spread out your newspaper, don some gloves, squirt some brown paint onto you paper and and generously apply to make a base coat.  It doesn't have to be perfect...you'll be painting over it. Dunk you brush in the water cup when you're done so it doesn't dry out (just make sure you dry it off pretty good before the next step).
    My base coat is going on more like a stain...whatever!
  3. Apply the gold paint - Don't wait for the brown to completely dry. Go ahead and start slathering on the gold paint.  I like the gold and brown to mix a bit, warming up the brown and making it less flat underneath. Let dry slightly between coats until you get the desired level of "goldness" (totally up to you...if you want it to be less metallic and more earthy, don't paint on so much gold). Dunk the brush when you're done.
    Keep piling on the gold until you feel you've got the right color. You don't have to let completely dry between coats.

    Done painting the gold. I like to use my work surface as my palette...less to clean up!
  4. Let the paint dry - Yep, this time, you gotta let it dry -- all the way.  Go make a pot of tea.

  5. Fill in the cracks - This part is hard to photograph by yourself, so bear with me.  Here's how it goes: 1. Jab some brown paint in the cracks and crevices; 2. quickly wipe the paint off with a paper towel (you don't want it on the flat surfaces); 3) turn the towel to find a clean spot.  Repeat that process until you've jabbed and wiped around the entire frame.  Make sure you use only the clean part of the towel when you wipe...you're wiping paint OFF, not buffing it ON.
    Jab brown into the cracks. I like using the foam brush b/c it has that little point on the end
    Wipe off the paint.

    Finished crack with extra brown.

    I think the extra brown adds a bit of "age" and dimension to the look...like it's been sitting in someone's house for a while, maybe collecting dust and memories.

    Cracks are all finished!
  6. Tone down the gold...if you want to - If you think your gold is too bright, you can use a paper towel to wipe quick, light strokes of brown paint onto the frame to tone it down a bit. If you pick a gold paint with a "vintage" or antiqued finish though, you should be okay as far as color goes.

  7. Add a clear coat...if you want to - If this is going to be used as a regular picture frame, once the acrylic dries all the way through, you should be good to go. However, if this frame is going to be used for something "high traffic" (like a jewelry display or something), you might want to add a few coats of poly or clear lacquer to the outside to make it more durable.
And that's it! Next time I'll take you through the steps that I use when I paint the top layer white and distress the frame.  Happy crafting.  :)

Thursday, September 1, 2011

New tutorials coming soon

So, I bought a "bag of rags" (unsold/stained t-shirts) for $4 from the Pennywise Resale Center in Richmond not too long ago. I was thinking that for $4 I'd get a grocery bag full of old T's, so I bought two. After paying for them, the ladies haul out two *GARBAGE* bags full of T's. Yikes! That's a lot of T-shirts!

Some of them I made into rags...they were pretty yucky. But with the nicer ones, I made reusable grocery bags (tutorial coming soon), fabric flowers (another tute), and drawstring pouches for my jewelry packaging (and yet another one). And I still had a PILE of shirts leftover. Now what???

I've gone through my pile, and now I'm ready to share the rest of what I thought up to do with the t's...but it's gonna take me a while. I've photog'ed some of the ideas, and some I'll have to recreate for you, but I thought I'd pass them along so you can reuse your old t's instead of throwing them in the trash.

Until I get some stuff up, check out these links to other t-shirt reuse tutorials:


PS - if you live in the Richmond/Rosenberg/Sugar Land area and like to thrift, you need need need to stop by the Pennywise stores (bonus: they benefit the Fort Bend Women's Center). On Wednesdays, all clothing is 40% off. At the Stafford location, they have a selection of $1.00 T-shirts. On Wednesdays, they're only $0.60!!!! Can't beat that!

Tuesday, August 30, 2011

Tutorial - Recycled Paper/Color-Your-Own Building Discs

If you're a blog reader, I'm sure you've already stumbled across this post in one of my favorite blogs, Made By Joel:

Slotted Building Discs


These little guys are SO CUTE. The circle shape is great for making oddly shaped structures, and they're fairly easy for the kiddos to work with (my testers are 3 and 3.5 yrs old). I've got one or two sets lying around the house, and one in my daughter's backpack for playing with at restaurants and other places that have "waiting times."

So why are mine different? They're not really...just a another take on the same idea. The kiddo and I like to do crafts together, so I thought it would be more fun if she could help decorate the discs. And, since I love using recycled materials, we decided to make them out of cardboard boxes. So here's my attempt at being somewhat original...


STEP 1: Click on the picture to download and save or print the template (8.5 x 11 sheet).

Now, you have the option of just using these discs (that's why I put a bunch on the page) if you prefer white paper. If so, then cut these out and proceed to step 5. If you'd like to be green, then follow me...

STEP 2: Cut out one circle to use as a master. It doesn't have to be perfect...none of the others you cut out will be either.

Once you have the disc cut out, make tiny holes where the little grey dots are marked. I used a tiny hole punch, but a pencil jammed thru the paper will work too. It doesn't have to be pretty. These holes are the guides to mark the end of the slits you'll cut later.

STEP 3: Using your master circle, trace circle and mark the dots onto the back of recycled cardboard boxes. We used cereal, cracker, granola bar, etc. boxes. They're nice and sturdy without being too thick (your scissor hands will thank you). Cut lots if you don't want hear, "Do we have any more?" over and over and over...


STEP 4: Cut out some circles. Take a break, massage your hands, and cut some more. Repeat.

STEP 5: Cut the slits. First, cut a line from the edge of the disc to the dot (red line).

Try to make the lines perpendicular to the edge of the circle, or the slits will be wonky. Refer to the original template to see how the first cuts should look (the little grey lines connecting the dots to the outside of the circle).

Now, cut another slit just a *HAIR* away from the first cut (yellow line).

This creates a V-shaped notch that will make it easier for the discs to slide together. Don't make the notch too big or they won't stay together.

STEP 6: Now comes the really fun part...coloring! Have your builders decorate the discs in any way you see fit. Crayons, pencils, stickers, whatever! Just don't cover up the slits or the discs won't work.


STEP 7: Build something. The discs will lock together to form many shapes. If you tower gets too big and falls over, just start building on another part or it. Here are some examples of what our little architects made:


A set of, say, 40 of these little boogers would be a great home-made gift to give a mom of a 3 - 6 year old. IF you want to get fancy, trace the circle template one pictures printed on cardstock...youcould literally build your own family tree. :) Use your imagination. And if you like this tutorial, pass it on.

Enjoy!

Wednesday, July 27, 2011

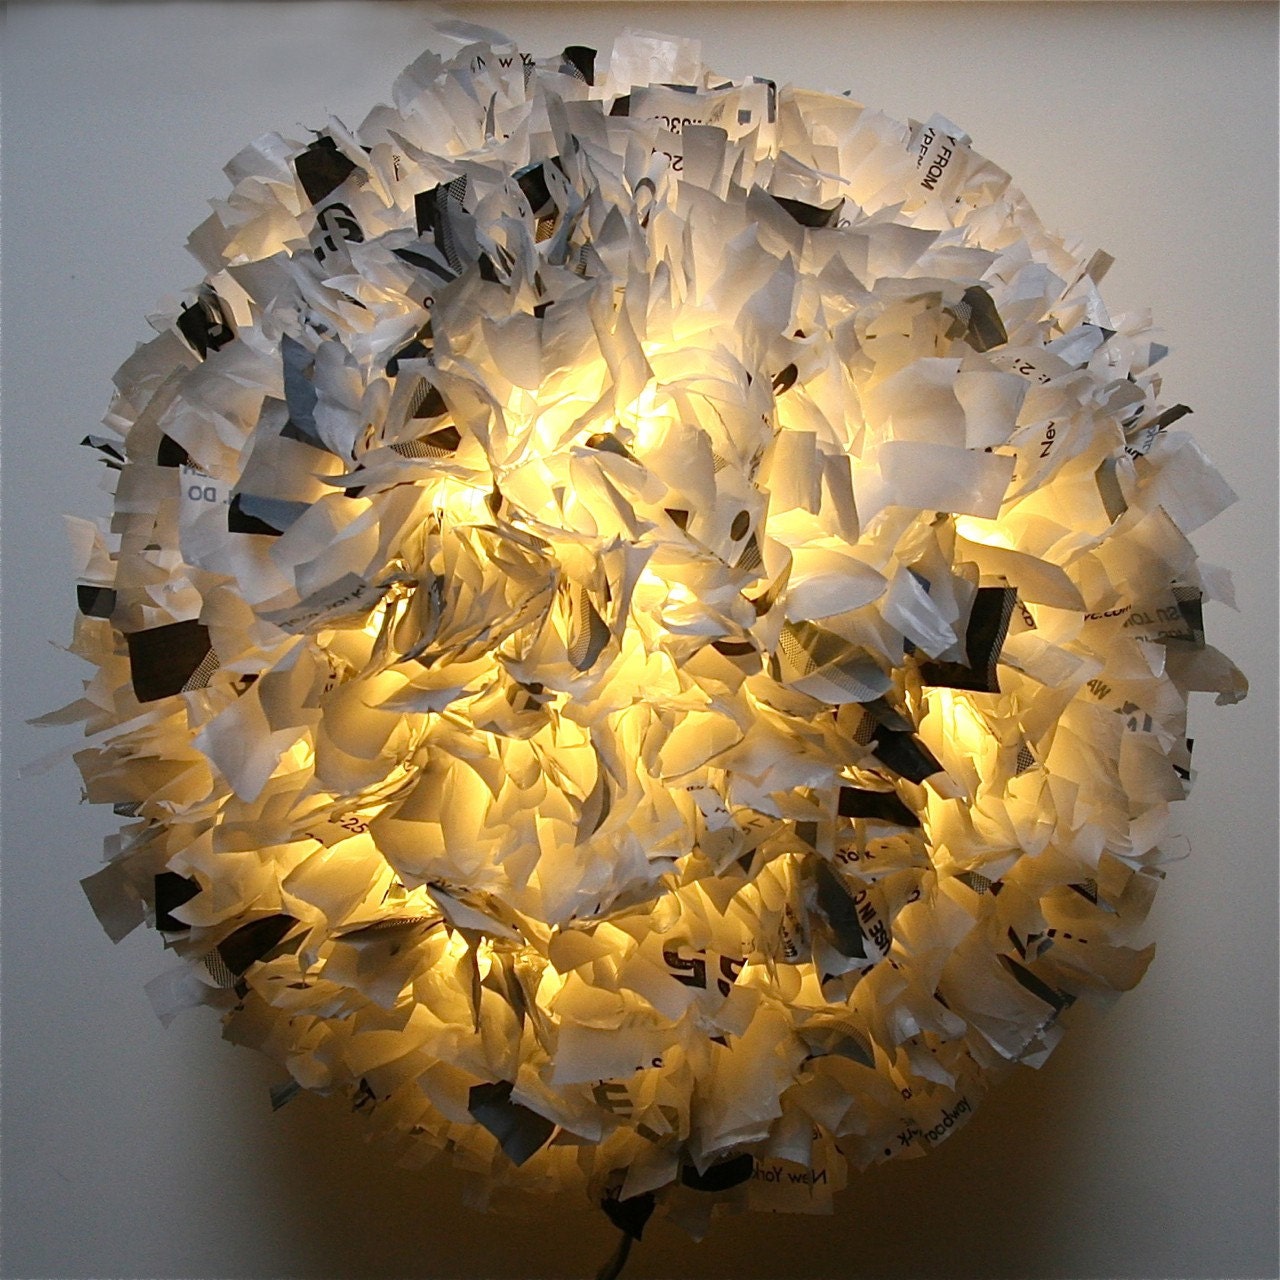
Ooops, I forgot my reusable grocery bags!

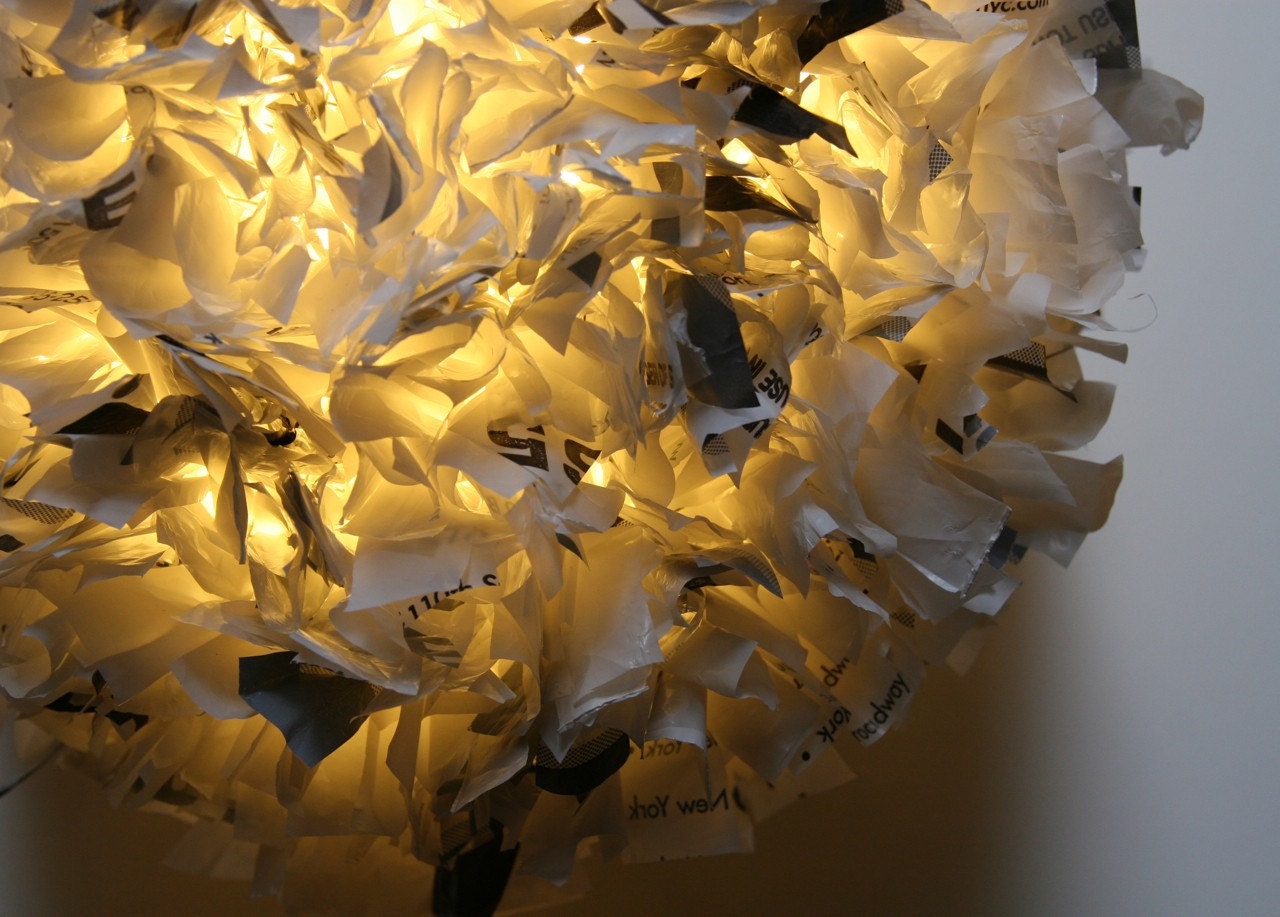
That's okay, I'll just make a lamp. How cool is this?!?!? I want one.


Available at Zipper8Lighting's Etsy Store for $195. My birthday's coming up in October...